

So you’ve done the sizing, chosen the proper unit, and checked the thermal performance. Then there’s the question that might quietly ruin an otherwise well-planned project: does the space really work? For a heat pipe heat exchanger, the answer depends on far more than the product dimensions alone.
This guide covers the key factors that determine how much installation space you’ll need, from unit clearance and pipe routing to maintenance access, and offers a practical framework for estimating the space requirements before anything gets ordered or built.
Start With the Heat Exchanger Dimensions
Before anything else, get the product drawing from your supplier. This gives you the actual length, width, and height of the unit, which is your starting point for layout planning.
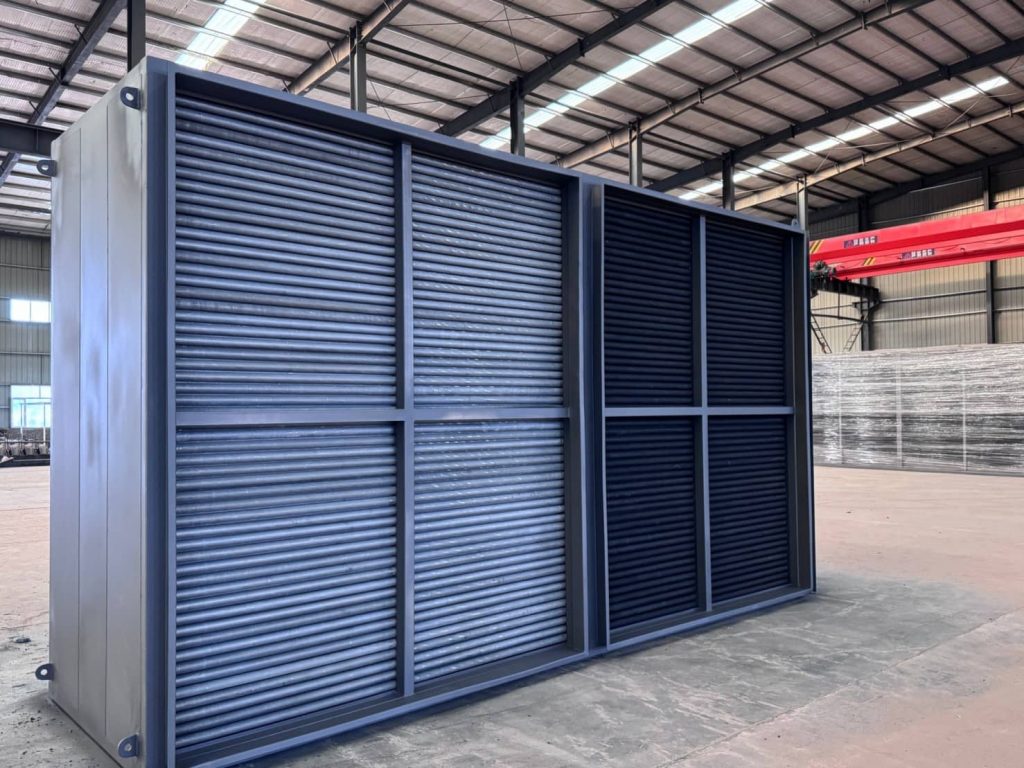
Here’s the thing that often gets missed in early design work: the physical size of the heat pipe heat exchanger is not the same as the space required for installation. The unit dimensions tell you how big the equipment is. The installation footprint is always larger, sometimes by a significant margin, once you account for everything the installation actually needs around it.
A unit that measures 1200mm × 800mm on paper may require a considerably larger clear zone once clearances, connections, and access are taken into account. Making that distinction up front can help avoid a lot of rework later on.
Leave Clearance Around the Unit
Heat exchanger clearances are one of those things that seem evident until they are not present. Once the unit is installed, the space around it affects airflow, safety, inspection, and ease of maintenance.
The table below summarizes the main clearance areas worth checking during layout planning:
| Space to Check | Why It Matters |
| Air-side clearance | Airflow, installation and inspection |
| Connection side | Piping, fittings and maintenance access |
| Rear clearance | Connections, supports or adjacent equipment |
| Top clearance | Installation, lifting and access |
| Maintenance access | Cleaning, inspection and component replacement |
Specific clearance dimensions depend on the unit size, the installation environment, and the connection arrangement. As a general planning principle, leave enough clear space on the primary service side for routine inspection, cleaning, and component access. The required clearance will depend on the unit design and the maintenance method.
Always confirm the exact figures using the actual equipment drawing rather than working from general rules alone.
Allow Space for Pipes, Ducts, and Supports
The unit itself is only part of what takes up space. In most installations, a significant share of the footprint comes from everything that connects to it.
On the fluid side, account for supply and return pipework, isolation valves, flexible connections, and any drain or expansion provisions. On the air side, duct transitions and collars can extend the overall envelope considerably depending on the duct arrangement and orientation.
Structural supports, mounting frames, and vibration isolation pads also need to fit within the available space. These elements are easy to underestimate when working from product dimensions alone, and they’re the kind of thing that tends to create conflicts when the layout gets reviewed against the actual site conditions.
Leave Room for Maintenance and Access
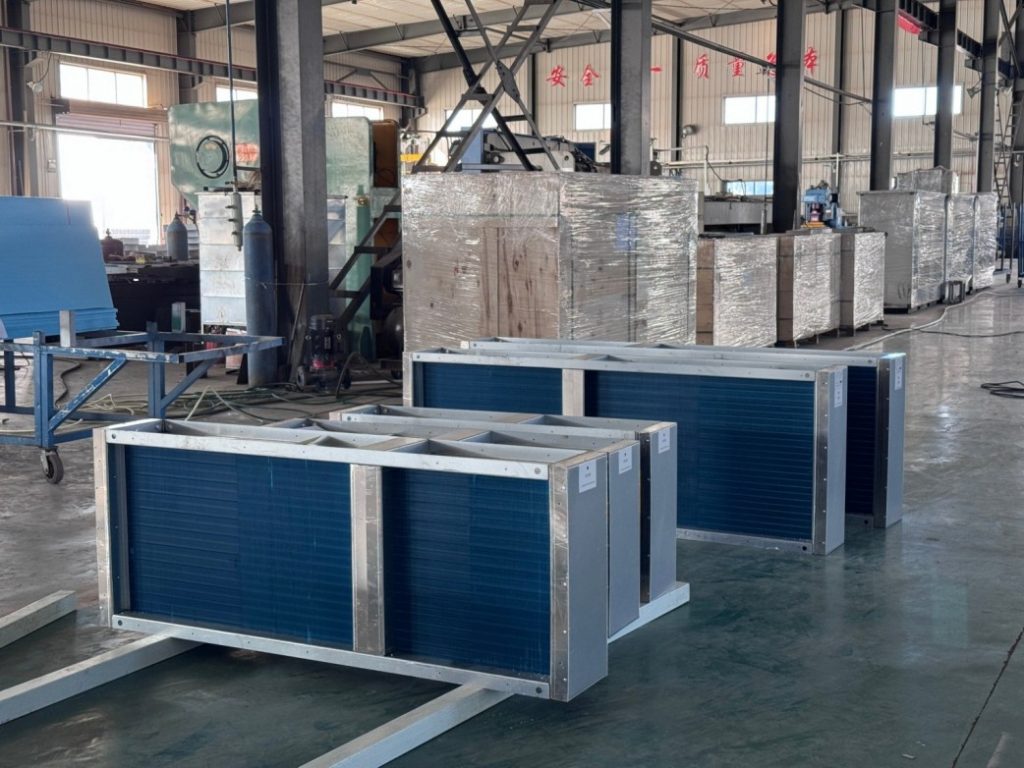
A heat pipe heat exchanger that’s awkward to access is one that tends to get neglected over time. During the service life of the system, fins will need cleaning, connections will need checking, and components may eventually need attention. The layout you set up at installation determines whether that work is straightforward or frustrating.
A few practical questions worth running through before finalizing the layout:
- Fin cleaning access: Can a technician reach both sides of the coil with standard cleaning equipment?
- Valve and fitting access: Are isolation valves reachable without dismantling adjacent pipework?
- Visual inspection clearance: Is there enough space to see the connections and structural supports clearly during a routine check?
If the layout makes any of these difficult, it is worth tweaking the plan before installation rather than working around the limits afterward.
Estimating the Space You’ll Need
With all of the above in mind, how much space should you actually plan for? A practical way to think about installation space is:
Unit dimensions + connection space + access and maintenance clearance
Think of this as a guideline to plan by, not a perfect formula. The exact required space is determined by the heat pipe heat exchanger drawing, the connection layout, the installation direction and the maintenance needs of your application. Use the framework to set aside a realistic zone during early layout work, and then confirm the exact envelope once you have the full equipment drawing and connection details available.
Confirm the Layout Before Ordering
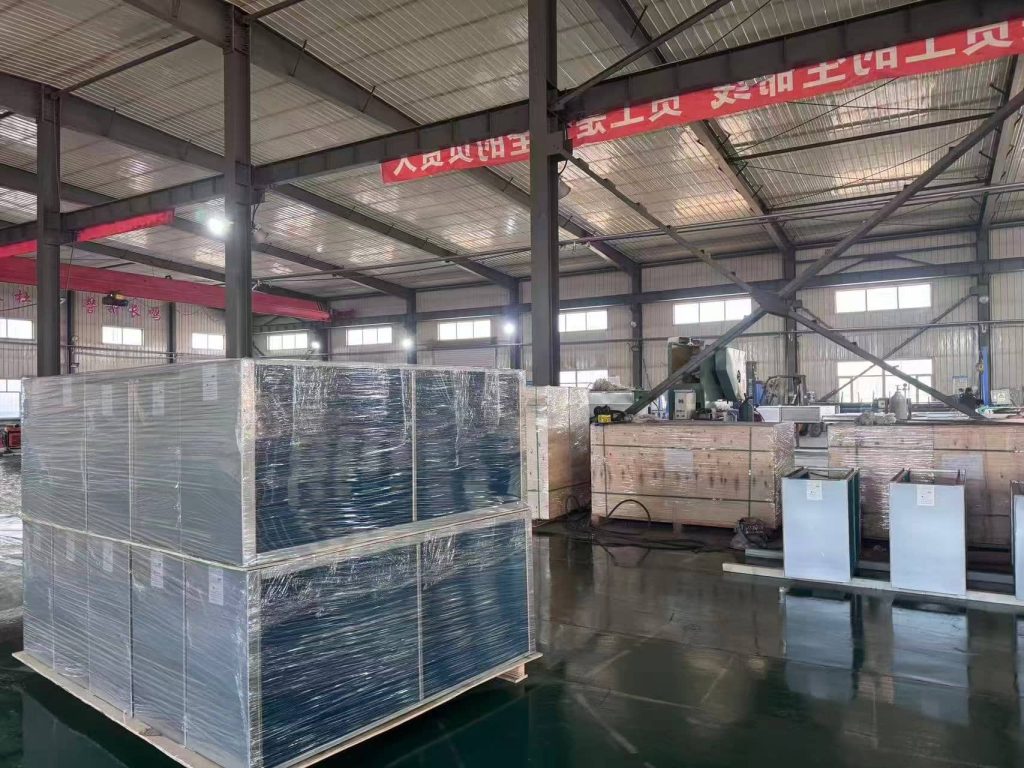
Sorting out the installation space on paper is always easier than doing it on site after the equipment has arrived. Taking time to check clearance requirements, pipe routing, and maintenance access before placing an order gives you the chance to catch any spatial conflicts early.
If you’re in the planning stage now and want to work through the sizing and space requirements, contact us to discuss your project.terial combination for your system.ustrial, and medical applications, we can help you find the right balance. Contact us for a free technical consultation.